|
C. Plane Modeling
Plane modeling is pretty nifty. I’ve found it most effective in car modeling. About anything can be done with a
plane and a shell modifier. And yeah, we’ll be covering the shell modifier later on. Any how, we’re going to
follow almost the exact same steps. Different buttons though.
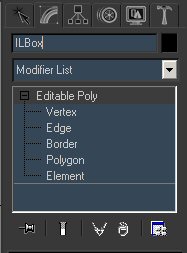
Select the 1/12 of a Imperial logo and go to the Modify tab and name the thing “ILBox”.
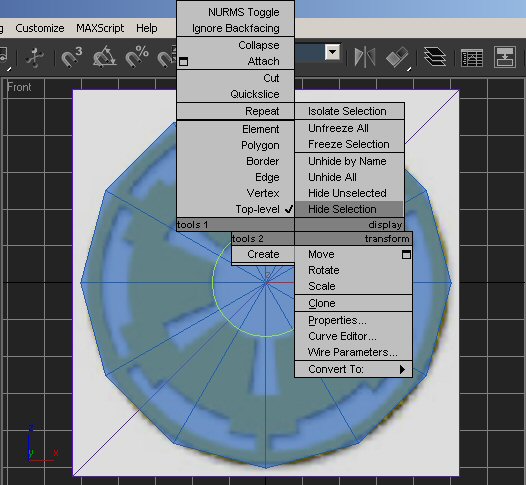
Now, right click on the model and click “Hide selection.” Now we’re ready to go on to our next model.
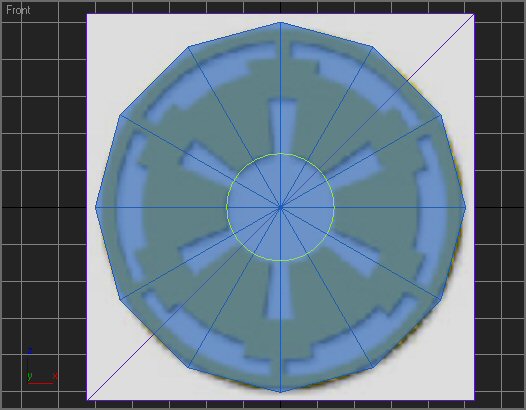
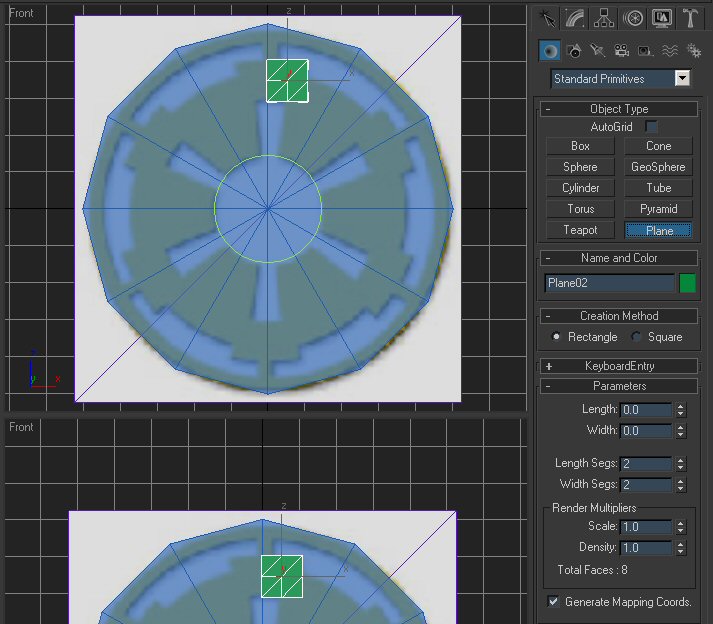
Make a plane. Because we can, we’ll play around some. Make it a bit bigger so it fills that entire square, as you’ll
see in a second. And give it four subdivisions (2 Length x 2 Width) You’ll have to move it forward, out of the blueprint,
so you can see it better.
Now, convert it to editable poly and adjust the vertices to follow it a better.
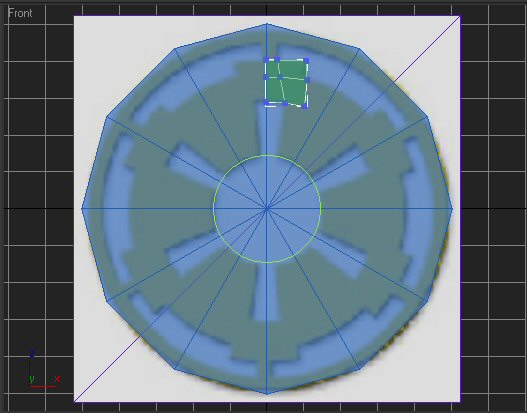
Now, here’s the cool part. We don’t extrude any here. If you try to extrude an edge, you get this mess.
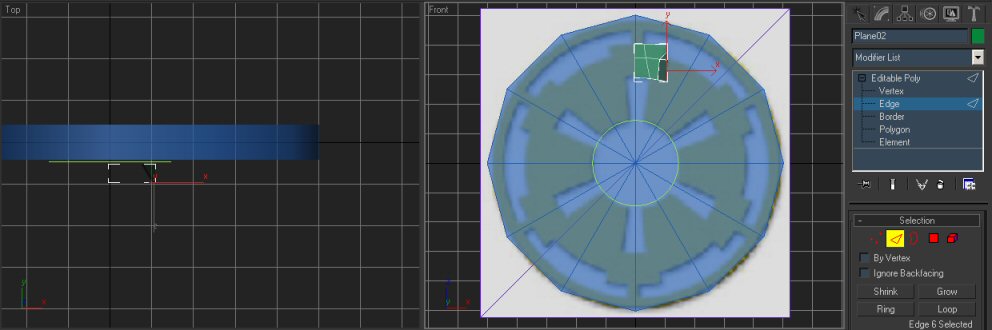
So that doesn’t work. Grab that edge, hold down your shift key, and move the edge. It extrudes it now, like you
think it should. Unfortunately, Max doesn’t share our opinions, but the shift button is a sure way to model when using
Edges. Now, if you grab a polygon and try to extrude it by holding down shift, it just clones the selected poly(s).
So anyhow, we should have something like this.
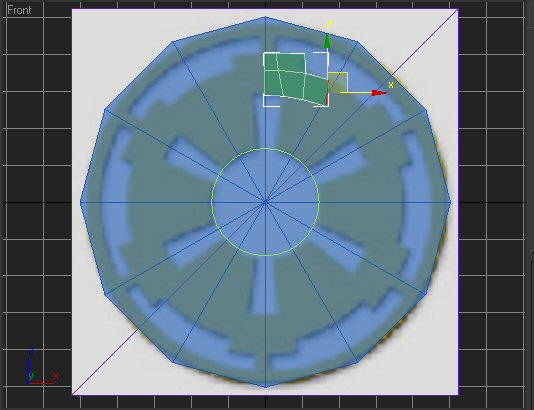
Adjust the vertices and drag that edge out twice more. Then bring down the right and bottom three edges and bring them
down to our green circle.
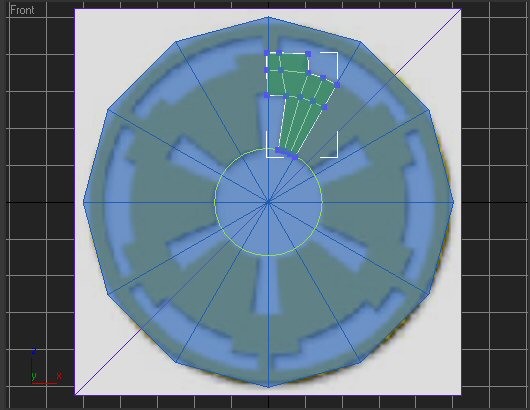
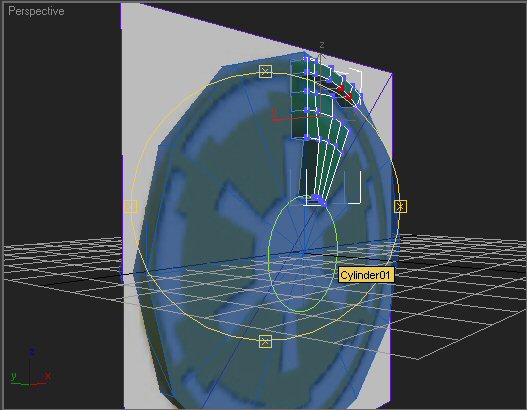
Now, grab the northernmost edge, (like we grabbed the northernmost poly in Part II) and shift + drag it up, then the right
edge out four times.

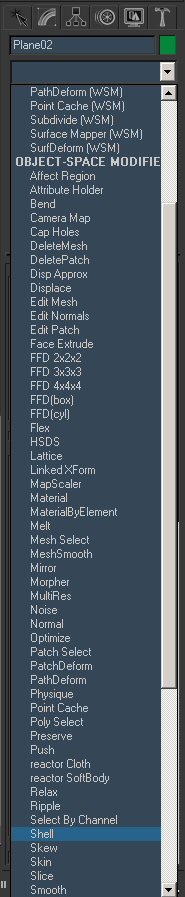
Now, a quick demo of how we’re going to do that shell modifier. On the modifier drop down list, select the Shell
modifier.
Be default, it has an “Outer amount” of 1.0. Zero that out and give it an inner amount of 5.0.
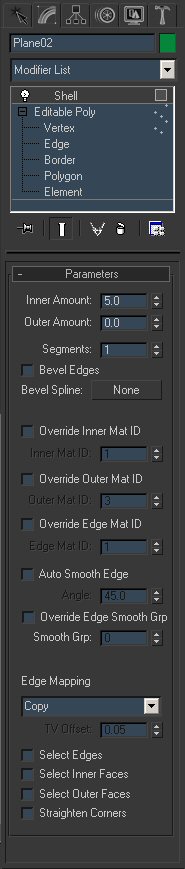
Now we’ve got this.
No longer 2d, it’s a 3D model now. Alright. Delete the shell modifier (Right click and select delete. We’ll
do it again after it’s been mirrored around), and then following steps from Part II: Box Modeling, center the pivot
point to the center of the green circle and rename our latest piece of work “ILPlane” and hide. Now, for the
third and final way of basic modeling covered in this tutorial, Spline modeling.
Modeling Basics - Part IV: Spline Modeling
|