|
Hello all and welcome to this tutorial :D For the more advanced of you, this won’t help you much. If you’re
entertained at all, it’ll because of the unusually funny and brilliant remarks of this humble author.
This is for the New guys. Or the guys that aren’t so new, but they're not learning at a university and they need some
help. Or, worse, it’s for the guys who’ve been at it a year, and they still need help. Much like this humble
author.
It’s not a very advanced tutorial. It’ll be a rather simple model when it’s all said and done. And after
awhile of modeling, you’ll be able to do it in fifteen minutes or so, but that’s ok. What this tutorial will
teach you is the basics of a lot of things. Almost everything, except Animation. That’s an art by itself, very literally.
Now, I’m sure you’re thinking, why in the world do I want to learn how to model the Imperial logo from Star Wars?
1. We're going to model it several different ways. All of them very nifty. We'll cover:
A. Blueprint setup
B. Box modeling
C. Edge modeling
D. Spline modeling
E. UVW Unwrapping
F. Applying a basic material
G. Different materials
H. Rendering a clay render
I. Two ways to render a wireframe.
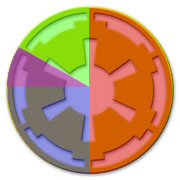
2. When we're all finished, (This is the best part.), the Imperial logo can double as both an Imperial logo, and a Jedi logo!
My brilliant deducting brain discovered that one day. Wonder what bright guy at LucasFilms decided that one? Ahem, anyhow.
A. Blueprint setup.
First things first. Open up Max, (I use Max 6). Now, a brief note. The techniques are the same, even if you're using Maya
or Blender. But, no matter how many times that is said, I still can't do very well on a Maya tutorial when I'm using Max.
So even if they're the same, the words used to describe them are different. So if you're using Blender, Maya, or something
else, don't feel bad if you can't figure out some of the things in this tutorial.
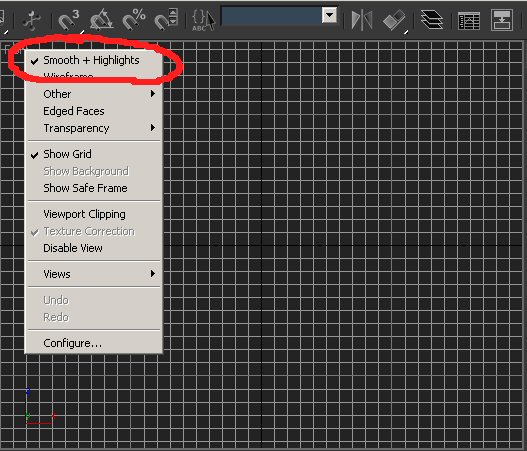
So, setting up blueprints. With your Modeling program up, right-click on the view word in the upper left hand corner of
each individual screen. Turn on Smooth + Highlights. Because we're using a blueprint, this will allow us to see the blueprint
while modeling. Otherwise, we'd only see a wireframe and that's no help.
This is our blueprint.
Here's where your Smooth + Highlights thing is going to be.
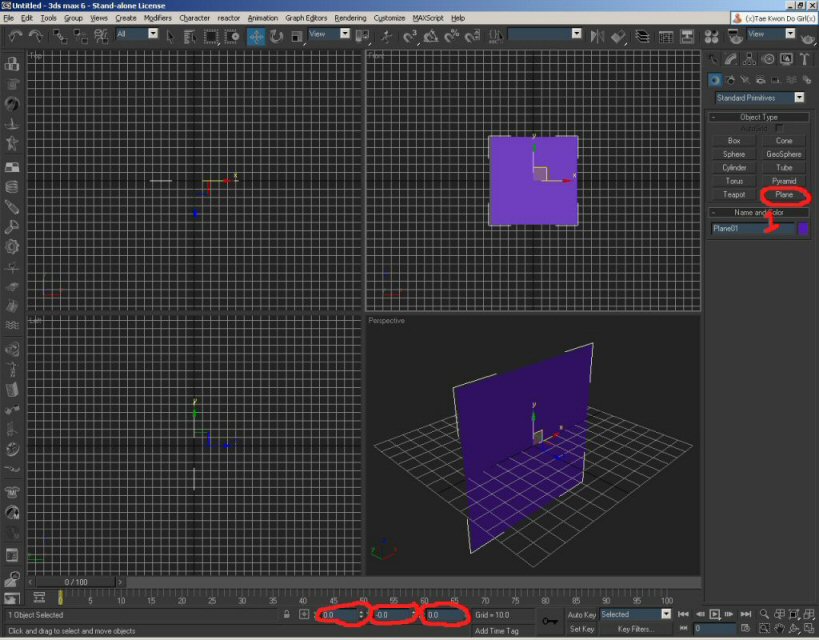
With our views ready to go, make a plane. 10 x 10 is fine. Type 0 into the bottom three boxes, that'll align our blueprint
to the central location in the scene, which is simply convenient.
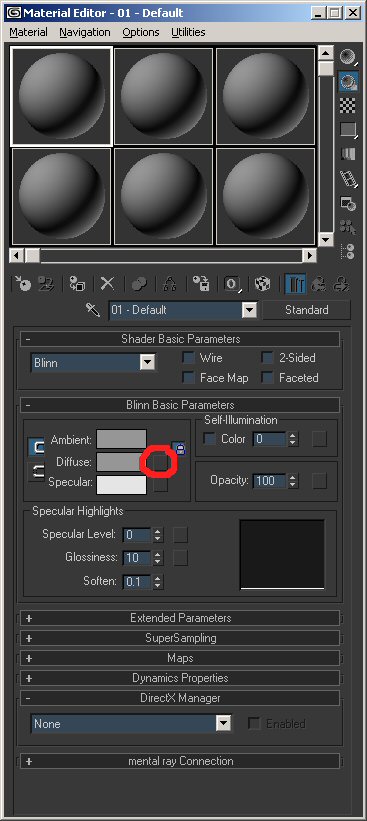
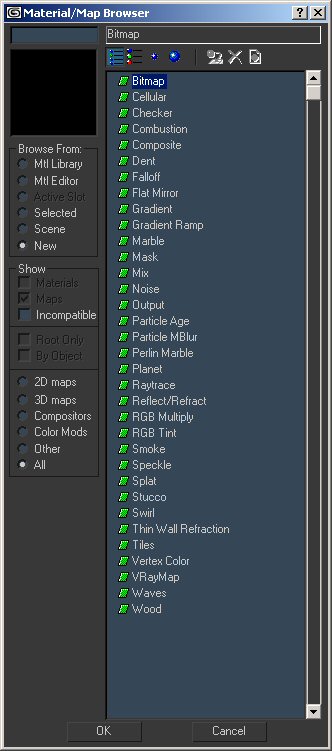
Push M on your keyboard and in the "Diffuse&" slot, the little box on the left, click that. Select "Bitmap"
and browse and find our blueprint and open it.
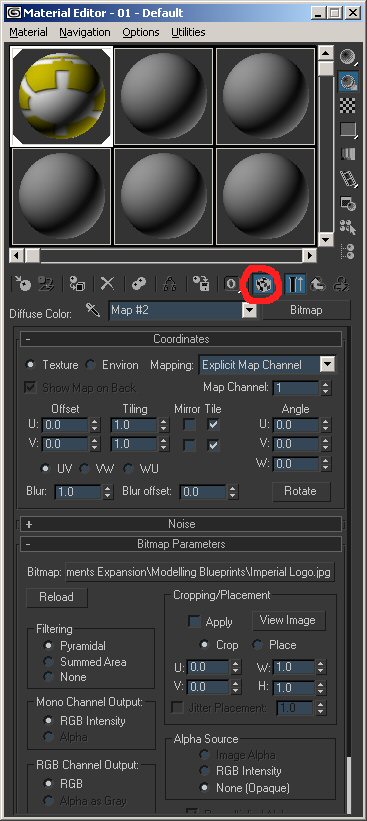
Now, select the yellow & blue box. This will allow us to see our skin on the plane in the viewport, which is why we turned
on “Smooth + Highlights”. Without it, we’d just see a wireframe and that’s useless for this particular
scene.
We’ve got our basic blueprints. Almost there.
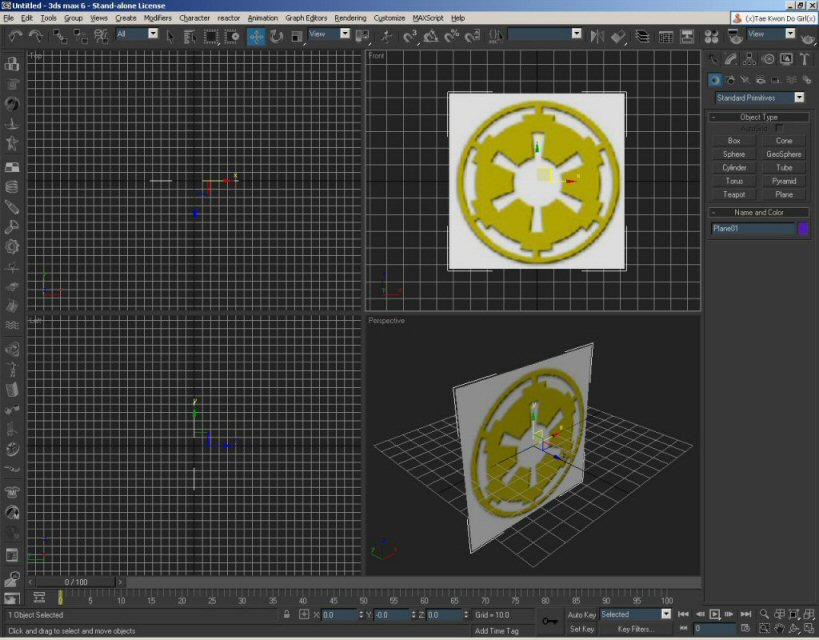
Save our scene as "Imperial Logo". Now, we have our blueprint, but that may not be enough. Let’s analyze it now, so
we don’t have to for every future lesson.
Now, we could model the whole thing at once. But obviously, it repeats a pattern (Ah, wow! Sudden realization!). It’d
also make a good wheel for a cool car, but that’s beside the point. The thing is symmetrical in a great number of ways
and that’s our point. We can save a lot of time if we use it’s repetition to our advantage.
We could do it in half. Or, we could do it faster. There’s blue, or 1/4. Still faster. There’s the green,
or 1/6. But wait! There’s more! Let’s do the purple. Or, 1/12.
See, there’s a method to the madness/Math (Same thing…).
So, now that we know what to do, let’s set to it.
Now that we know exactly what area to model, we’re going to improve our blueprint.
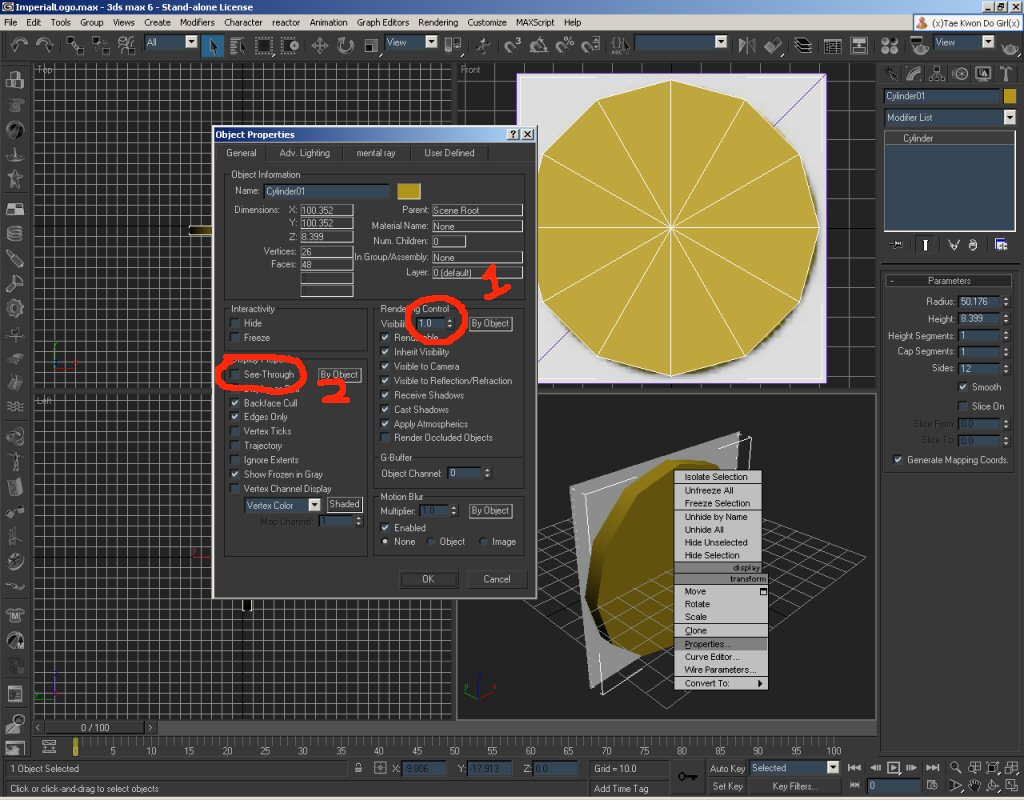
Make a cylinder. Does not matter what color it is, how deep it is, but we need to control it’s subdivisions and radius.
Create your cylinder with 12 segments. Now, it’s kinda hard to see our blueprint, behind the model. So, either push
Alt + X on your keyboard, or right click on it, select properties and turn the visibility down to .08 or something like that.
That, and push F4 on your keyboard. That way we can see our wireframes on top of the model, while working on it. You’ll
have to select each viewport (A.K.A., Top, Back, Perspective, that stuff) and push F4 for each one.
Option 1 is the visibility one. Option 2 is Alt + X. I’m personally a fan of Option 1, but again, it’s a personal
preference.
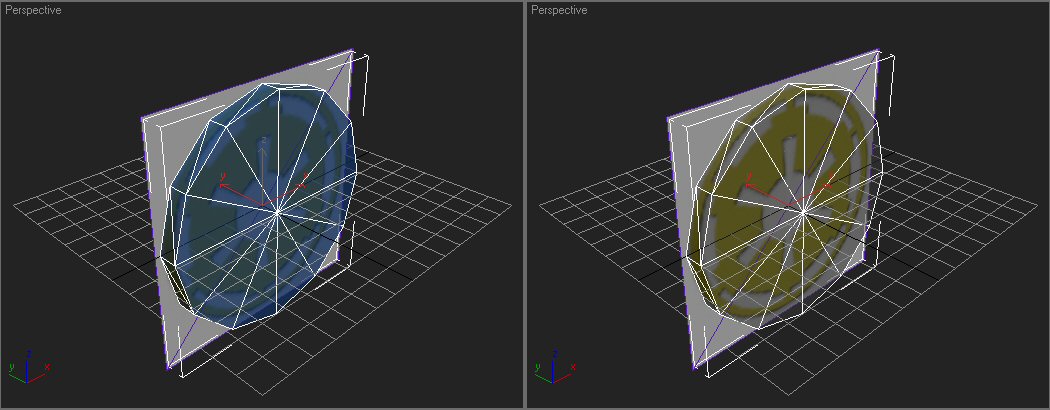
This is the difference with the 2: Oh, and yes, I changed the color to blue. Yellow ain’t exactly my favorite.
As you can see, changing the visibility (Left picture) just literally changes the visibility. On the right, it changes
it completely to grey, is a bit harder to see sometimes, but some like that and others don’t. Me, I’m going to
work with the Visibility one.
Now, it’s up, but we can align it better. Select the align button.

It’ll change our cursor. Select our blueprint, that, in turn, will bring up a dialogue that’ll look like this.
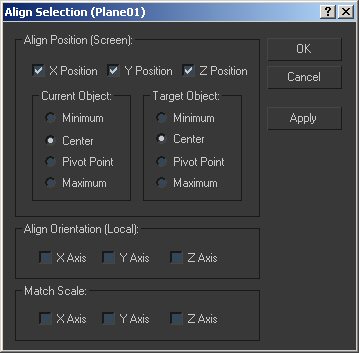
As above, check X position, Y position and Z position. Push OK or Apply.
Now it’s aligned to our logo, theoretically. It should also be lined up exactly how we model. Remember our purple
section? 1/12. Now we know what to follow. Almost done.
We’ll make our first spline as part of a blueprint. Follow the steps numbered in the image below. Click on the tab
for splines, then select the circle. Create it, and align it not to the blueprint, but to the 12 segment circle.
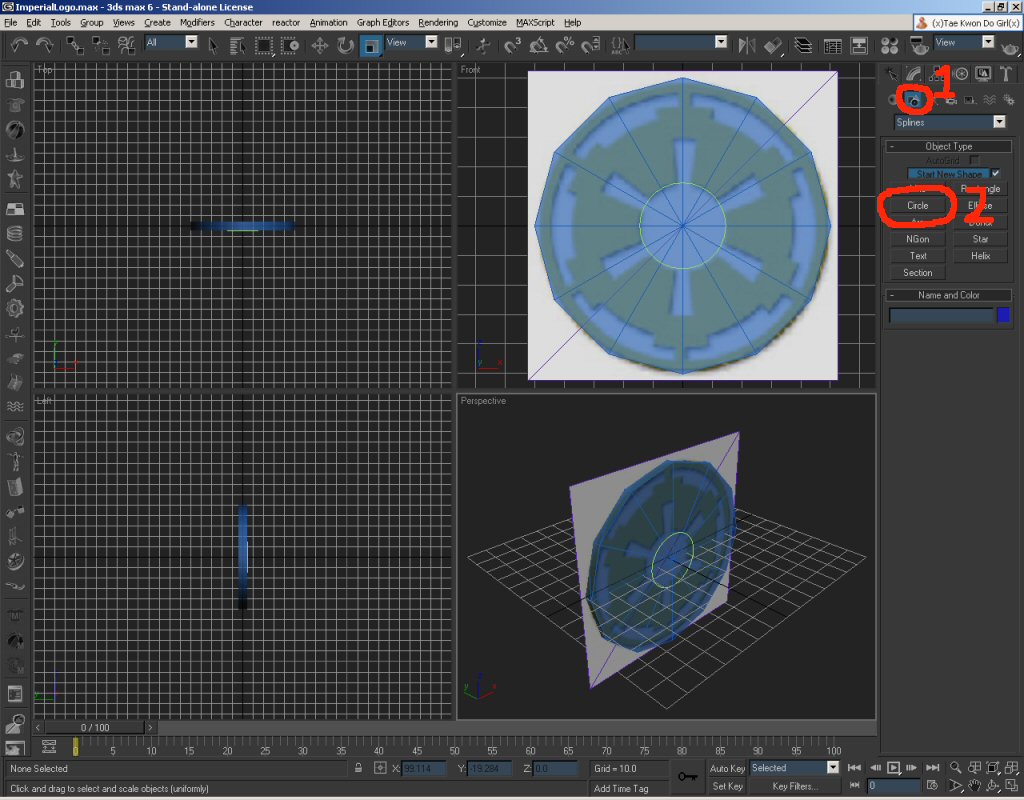
The thin green line in the middle is our spline. Now, our blueprint is pretty much done. We can model within our 1/12
segment, knowing what our borders are, and we have a perfect circle to follow at the bottom and a general reference to (duh),
refer to.
And that is exactly what most a blueprint is in the world of modeling. Blueprint is a reference. When modeling a car,
you follow them a bit more closely, but for say, a sword blueprint, you can embellish, add your own curves, anything. Because
a blueprint is 2D, we have to add an artist’s touch to it. If you didn’t know modeling was an art, sorry, that’s
what it is. And for me, it’s the most rewarding. Anyhow, back to business.
With our blueprint stuff done, let’s model.
Next: Box Modeling
|